| A professional email ID with your own domain builds trust, reinforces brand identity, and offers better security than free services. Key steps include choosing a suitable domain, selecting a reliable email host, setting up MX records, creating email accounts, and enabling security features like two-factor authentication, SPF, DKIM, and DMARC records. |
A professional email ID with your own domain (e.g., [email protected]) enhances credibility and strengthens your brand name. Unlike free email services (Gmail, Yahoo), a custom domain email looks more trustworthy.
In this detailed guide, we will walk you through every step of setting up a professional email ID. We will cover all the steps from setting up a domain to configuring various security settings.
Step 1: Choose and Register a Domain Name
Your domain name is the foundation of your professional email. Thus, it’s crucial to consider certain factors when choosing your domain, including:
- Keep it short and easy to remember. This will ensure that it’s easy to spell and remember for the users.
- The domain name should match your brand name and prospects.
- The domain name should be clean and professional. Avoid unnecessary complications such as numbers and hyphens.
| Pro Tip: Go for common extensions such as .com, .net, and .org as they are easy to discover on Google. |
Step 2: Select an Email Hosting Provider
You need an email hosting service to manage your emails. Free email services generally lack customisation. So, you should instead opt for a professional email service. Various options are available in the market. These include:
- Google Workspace is a service provided by Google Inc. It provides Gmail with a custom domain.
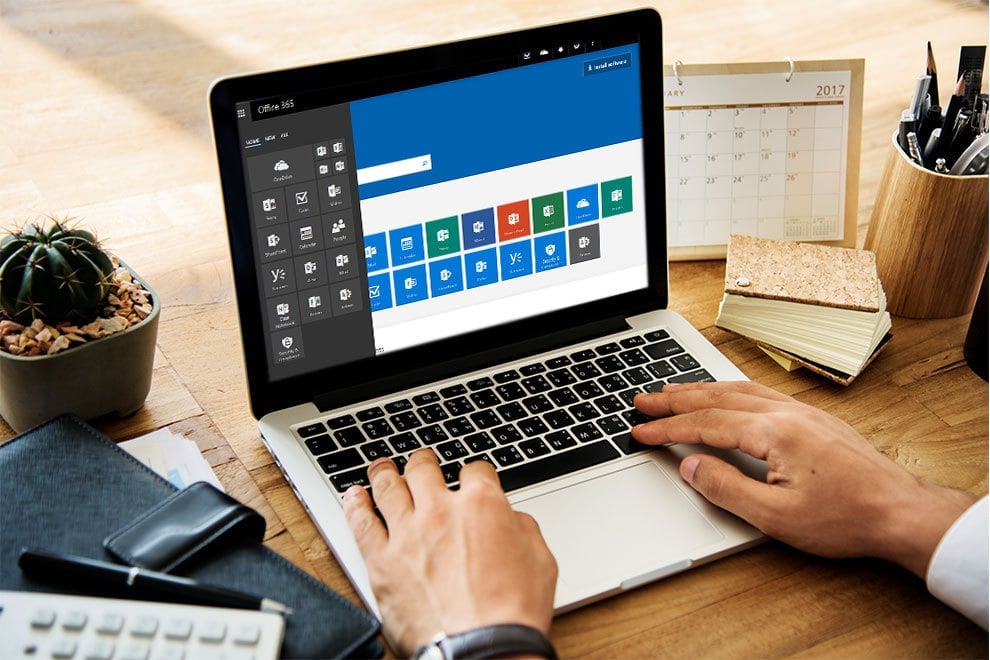
- Microsoft Outlook 365 is a service provided by Microsoft. It provides Outlook with a custom domain.
- Zoho Mail is a budget-friendly option that comes with no ads. It is ideal for small-scale businesses. It is free for one user as well and offers 5GB of storage in the free plan.
| Pro Tip: Compare features like storage, security, and pricing before choosing. If you need a budget-friendly option, Zoho Mail is a good option. On the other hand, if you need advanced features such as collaboration, Google Workspace or MS Outlook are better alternatives. |
Step 3: Set Up MX Records (Domain Configuration)
Use the steps below to easily set up your MX Records effortlessly.
- Log in to your domain registrar’s dashboard (Google Workspace, MS Outlook 365).
- Locate DNS settings and add MX records provided by your email host.
- Save changes (may take up to 48 hours to propagate).
Step 4: Create Your Professional Email Address
Once MX records are set, you can easily create your email. Please follow the steps given below:
- Log in to your email hosting dashboard.
- Navigate to User Accounts or Email Management.
- Enter desired email (e.g., [email protected]).
- Set a strong password and complete your setup.
| Pro Tip: If you are using a new provider, you need to delete your previous MX Records. Hosting providers also require domain verification. You need to follow the setup guide to get it done. |
Step 5: Access Your Professional Email
Now that you have completed the prior steps successfully, you can access your email by using the following methods:
- Webmail: It is a Browser-based login and is universally used for all services such as Google Workspace, Microsoft 365, etc.
- Email Clients: Useful with services such as Outlook, Apple Mail, Thunderbird. You need to configure IMAP and SMTP settings.
- Mobile Apps: Gmail/Outlook app with IMAP/POP settings.
Using the above methods, you can configure your preferred method for seamless access and start using your professional email.
Step 6: Enable Additional Security Features
Professional Email ID hosts provide advanced security features. These help protect your business email from malware and spam. The various features provided are as follows:
- Two-Factor Authentication: This method adds an extra login step (such as SMS, call). It is an ideal method for blocking unauthorised access.
- Set up SPF, DKIM, and DMARC: SPF specifies the allowed email servers. DKIM adds a digital signature. DMARC tells the server what to do if an email fails to be sent. These methods of security prevent mail spoofing.
- Regular Backups: Services such as Google Vault help in safeguarding data. This, in turn, prevents data loss.
| Also Read: How to Connect Your Custom Domain Email |
Benefits of a Professional Email ID
- Builds Trust: Potential clients trust ‘[email protected]’ more than free emails. This, in turn, can boost your business.
- Brand Consistency: Reinforces your brand name and identity.
- Better Security: Services like Google Workspace and Microsoft 365 offer high-level security features. These features offer protection against phishing and malware.
- These emails are less likely to be marked as spam by various email apps.
- Custom Aliases: You can assign a specific @ for various departments. For example, techsupport@ for the technical support department, sales@ for the sales department.
| Also Read: Custom Domain Names Explained: Features, Benefits, and How to Secure Yours |
Conclusion
Setting up a professional email with a custom domain is a must for businesses nowadays. It is simple and affordable. It boosts professionalism and improves communication. It also strengthens your brand’s image and credibility.
Follow these steps, choose a reliable hosting provider, and enjoy a polished business email experience! Are you looking for a custom domain provider? Check out BigRock solutions for fast, reliable web and cloud hosting solutions.
Sign up now to get started!